一加手机更新系统后忘记修补分区的补救
已提取init_boot: ColorOS PKG110_16.0.1.302(CN01) F.30
原系统版本: ColorOS PKG110_16.0.7.200(CN01) F.52
新系统版本: ColorOS PKG110_16.0.8.300(CN01) F.53
尝试切槽
在16.0.8.300系统中, 尝试进入fastboot
1
adb reboot bootloader
进入后准备切回原来的槽位, 所以得先查看当前槽位
1
fastboot getvar current-slot
发现是b槽位, 切换到a
1
fastboot set-active a
重启
1
fastboot reboot
不出所料, 无法进入系统, 不过好在a槽位进不去后, 多次重启会自动切换到b槽位.现代系统再次拯救我的阳寿, 不然真没招了
先下载全量包
https://pan.baidu.com/s/1XPrF_YRgj4fxM969AOqU0A?pwd=dxam#list/path=%2Fsharelink1478247800-441020324772502%2F%E4%B8%80%E5%8A%A0OnePlus%20Ace%205%2FColorOS%20PKG110_16.0.8.300(CN01)%20F.53&parentPath=%2Fsharelink1478247800-441020324772502
我已下载lineage侧载包
https://sourceforge.net/projects/andyyan-gsi/files/lineage-pure-userdebug/lineage-23.2-20260210-UNOFFICIAL-gsi_arm64.img.gz/download
接着尝试dsu, 直接提取新系统init_boot, 下次补救也快一些
尝试dsu
发送镜像
1
adb push lineage-23.2-20260210-UNOFFICIAL-gsi_arm64.img.gz /sdcard/download/
安装软件
https://github.com/VegaBobo/DSU-Sideloader/releases/download/2.03/app-release.apk
1
adb install app-release.apk
在软件上打开选择镜像安装后, 无root手机还要运行
1
adb shell sh "/storage/emulated/0/Android/data/vegabobo.dsusideloader/files/install"
安装完成重启, 进入侧载系统,
关于本机->Build号, 连点7次进入开发者模式, 开启root调试, 然后搜索 root, 启用开发者模式中的Root身份的调试, 电脑上执行:
1
adb root
尝试提取分区, 这得参考晨钟酱Official的教程了, 完全没弄过
1
adb shell
先cd到分区目录
1
cd /dev/block/by-name/
结果如下:
1
2
3
4
5
6
7
8
9
10
11
12
13
14
15
16
17
18
19
20
21
22
23
24
25
26
27
1|OP5D2BL1:/ # cd /dev/block/by-name/
OP5D2BL1:/dev/block/by-name # ls
ALIGN_TO_128K_1  devcfg_b           keymaster_b     oplus_sec_a     sdb           uefisecapp_b
ALIGN_TO_128K_2  devinfo            keystore        oplus_sec_b     sdc           uefivarstore
DRIVER           dinfo              last_parti      oplusdycnvbk    sdd           userdata
abl_a            dip                limits          oplusreserve1   sde           vbmeta_a
abl_b            dpm                limits-cdsp     oplusreserve2   sdf           vbmeta_b
aop_a            dsp_a              logdump         oplusreserve3   secdata       vbmeta_system_a
aop_b            dsp_b              logfs           oplusreserve5   shrm_a        vbmeta_system_b
aop_config_a     dtbo_a             mdcompress      oplusstanvbk_a  shrm_b        vbmeta_vendor_a
aop_config_b     dtbo_b             mdm1oemnvbktmp  oplusstanvbk_b  splash_a      vbmeta_vendor_b
apdp             engineering_cdt_a  mdtp_a          persist         splash_b      vendor_boot_a
apdp_full        engineering_cdt_b  mdtp_b          pvmfw_a         splash_odm    vendor_boot_b
apdpb            featenabler_a      mdtpsecapp_a    pvmfw_b         spunvm        vm-bootsys_a
bluetooth_a      featenabler_b      mdtpsecapp_b    qmcs            spuservice_a  vm-bootsys_b
bluetooth_b      frp                metadata        qupfw_a         spuservice_b  vm-data
boot_a           fsc                misc            qupfw_b         ssd           vm-persist
boot_b           fsg                modem_a         qweslicstore_a  storsec       xbl_a
cdt              hybridswap         modem_b         qweslicstore_b  super         xbl_b
connsec          hyp_a              modemst1        rawdump         toolsfv       xbl_config_a
cpucp_a          hyp_b              modemst2        recovery_a      tz_a          xbl_config_b
cpucp_b          imagefv_a          multiimgoem_a   recovery_b      tz_b          xbl_ramdump_a
cpucp_dtb_a      imagefv_b          multiimgoem_b   rtice           tzsc          xbl_ramdump_b
cpucp_dtb_b      init_boot_a        multiimgqti_a   rticmpdata_a    uefi_a        xbl_sc_logs
ddr              init_boot_b        multiimgqti_b   rticmpdata_b    uefi_b        xbl_sc_test_mode
devcfg_a         keymaster_a        ocdt            sda             uefisecapp_a
OP5D2BL1:/dev/block/by-name #
奇怪,不支持ls -l ini筛选, 管他呢, 已经看到关键分区名字了..
1
2
3
4
5
OP5D2BL1:/dev/block/by-name # ls -l init_boot_a
lrwxrwxrwx 1 root root 16 1971-04-11 06:30 init_boot_a -> /dev/block/sde32
OP5D2BL1:/dev/block/by-name # ls -l init_boot_b
lrwxrwxrwx 1 root root 16 1971-04-11 06:30 init_boot_b -> /dev/block/sde66
OP5D2BL1:/dev/block/by-name #
哦哦哦, /dev/block/sde32就是具体的分区, 而/dev/block/by-name/init_boot_a是分区的镜像名字..
提取分区
1
dd if=/dev/block/sde32 of=/sdcard/init_boot_a
也是8MB
1
2
3
4
5
OP5D2BL1:/dev/block/by-name # dd if=/dev/block/sde32 of=/sdcard/init_boot_a
16384+0 records in
16384+0 records out
8388608 bytes (8.0 M) copied, 0.042 s, 190 M/s
OP5D2BL1:/dev/block/by-name #
感觉和老系统的init_boot大小一样的.. 我一定要试试老系统init_boot能否正常启动(前提是当前的init_boot已被提取出来并且修补了.无论侧载还是全量包途径)
直接在侧载系统安装magisk进行修补
1
adb install magisk.apk
还好前面弯弯绕绕都把工具整理准备好了
1
2
3
4
5
6
7
8
9
10
11
12
13
14
15
16
17
18
19
20
21
22
23
24
25
26
27
28
29
30
C:\Users\daily\MyFile\asset\0neplus_tools>dir
 驱动器 C 中的卷是 OS
 卷的序列号是 3CFB-6E64

 C:\Users\daily\MyFile\asset\0neplus_tools 的目录

2026/07/09  08:27    <DIR>          .
2026/07/08  02:22    <DIR>          ..
2026/05/02  13:11               534 adb_shells.txt
2025/06/05  18:27    <DIR>          backup
2026/03/21  22:40    <DIR>          boot
2026/04/27  19:04               808 bwg.bin
2026/07/09  08:48    <DIR>          dsu_imgs
2025/06/04  18:16    <DIR>          enhance_tools
2026/07/09  09:46    <DIR>          flash_tool
2026/03/16  11:50    <DIR>          init_boot
2026/04/27  19:15    <DIR>          lsp_modules
2026/03/17  10:11        11,613,864 Magisk_30.7.apk
2026/04/27  18:46    <DIR>          magisk_modules
2026/03/03  11:45    <DIR>          regular_apps
2026/04/27  19:09        28,190,211 singbox.apk
2026/03/17  21:45    <DIR>          zerotermux_config
               4 个文件     39,805,417 字节
              12 个目录 260,076,302,336 可用字节

C:\Users\daily\MyFile\asset\0neplus_tools>adb install Magisk_30.7.apk
Performing Streamed Install
Success

C:\Users\daily\MyFile\asset\0neplus_tools>
提取分区镜像到电脑
1
2
3
4
5
C:\Users\daily\MyFile\asset\0neplus_tools\init_boot\1+ace5\16.0.8.300>adb pull /sdcard/init_boot_a ./init_boot_a.img
/sdcard/init_boot_a: 1 file pulled, 0 skipped. 39.3 MB/s (8388608 bytes in 0.204s)

C:\Users\daily\MyFile\asset\0neplus_tools\init_boot\1+ace5\16.0.8.300>adb pull /sdcard/init_boot_b ./init_boot_b.img
/sdcard/init_boot_b: 1 file pulled, 0 skipped. 40.2 MB/s (8388608 bytes in 0.199s)
提取修补后的分区镜像到电脑
1
2
3
4
C:\Users\daily\MyFile\asset\0neplus_tools\init_boot\1+ace5\16.0.8.300>adb pull /sdcard/download/ ./
/sdcard/download/: 2 files pulled, 0 skipped. 38.4 MB/s (16777216 bytes in 0.417s)

C:\Users\daily\MyFile\asset\0neplus_tools\init_boot\1+ace5\16.0.8.300>
按教程, 直接在侧载系统中刷修补镜像
1
2
3
4
5
6
7
8
9
10
11
OP5D2BL1:/sdcard/download # dd if=m
magisk_patched-30700_bkW0A.img          magisk_patched-30700_w7FK0.img
OP5D2BL1:/sdcard/download # dd if=magisk_patched-30700_w7FK0.img of=/dev/block/sde32
16384+0 records in
16384+0 records out
8388608 bytes (8.0 M) copied, 0.147 s, 54 M/s
OP5D2BL1:/sdcard/download # dd if=magisk_patched-30700_bkW0A.img  of=/dev/block/sde66
16384+0 records in
16384+0 records out
8388608 bytes (8.0 M) copied, 0.160 s, 50 M/s
OP5D2BL1:/sdcard/download #
重新进入系统
1
reboot
成功进入系统.. 接着尝试全量包
解全量包
用到的工具
https://github.com/ssut/payload-dumper-go/releases/download/1.3.0/payload-dumper-go_1.3.0_windows_amd64.tar.gz
下载解压, 先看看有哪些命令
1
2
3
4
5
6
7
8
9
10
11
12
13
14
15
16
17
18
19
C:\Users\daily\MyFile\asset\0neplus_tools\flash_tool\payload_tool>payload-dumper-go.exe -h
Usage of payload-dumper-go.exe:
  -c int
        Number of multiple workers to extract (shorthand) (default 4)
  -concurrency int
        Number of multiple workers to extract (default 4)
  -l    Show list of partitions in payload.bin (shorthand)
  -list
        Show list of partitions in payload.bin
  -o string
        Set output directory (shorthand)
  -output string
        Set output directory
  -p string
        Dump only selected partitions (comma-separated) (shorthand)
  -partitions string
        Dump only selected partitions (comma-separated)

C:\Users\daily\MyFile\asset\0neplus_tools\flash_tool\payload_tool>
所以要提取init_boot应该是
1
payload-dumper-go.exe -p init_boot ..\payload.bin
结果如下
1
2
3
4
5
6
7
8
9
10
11
C:\Users\daily\MyFile\asset\0neplus_tools\flash_tool\payload_tool>payload-dumper-go.exe -p init_boot ..\payload.bin
payload.bin: ..\payload.bin
Payload Version: 2
Payload Manifest Length: 308712
Payload Manifest Signature Length: 267
Found partitions:
system (996 MB), system_ext (898 MB), product (9.2 MB), vbmeta_system (4.1 kB), boot (201 MB), init_boot (8.4 MB), vendor_boot (201 MB), recovery (105 MB), vendor (829 MB), vendor_dlkm (49 MB), system_dlkm (15 MB), odm (1.9 GB), dtbo (25 MB), vbmeta (12 kB), abl (278 kB), aop (336 kB), aop_config (29 kB), bluetooth (1.5 MB), cpucp (254 kB), devcfg (61 kB), dsp (67 MB), engineering_cdt (1.0 MB), featenabler (106 kB), hyp (1.6 MB), imagefv (106 kB), keymaster (430 kB), modem (314 MB), oplus_sec (872 kB), oplusstanvbk (766 kB), qupfw (61 kB), shrm (139 kB), splash (16 MB), tz (4.1 MB), uefi (3.2 MB), uefisecapp (201 kB), cpucp_dtb (16 kB), vbmeta_vendor (4.1 kB), xbl (1.1 MB), xbl_config (238 kB), xbl_ramdump (909 kB), my_product (1.5 GB), my_engineering (336 kB), my_stock (4.4 GB), my_carrier (336 kB), my_region (7.0 MB), my_bigball (336 kB), my_heytap (336 kB), my_manifest (664 kB)
Number of workers: 4
init_boot (8.4 MB)  [===========================================================================================] 100 %

C:\Users\daily\MyFile\asset\0neplus_tools\flash_tool\payload_tool>
用010editor对比一下
还是挺多不一样的.. 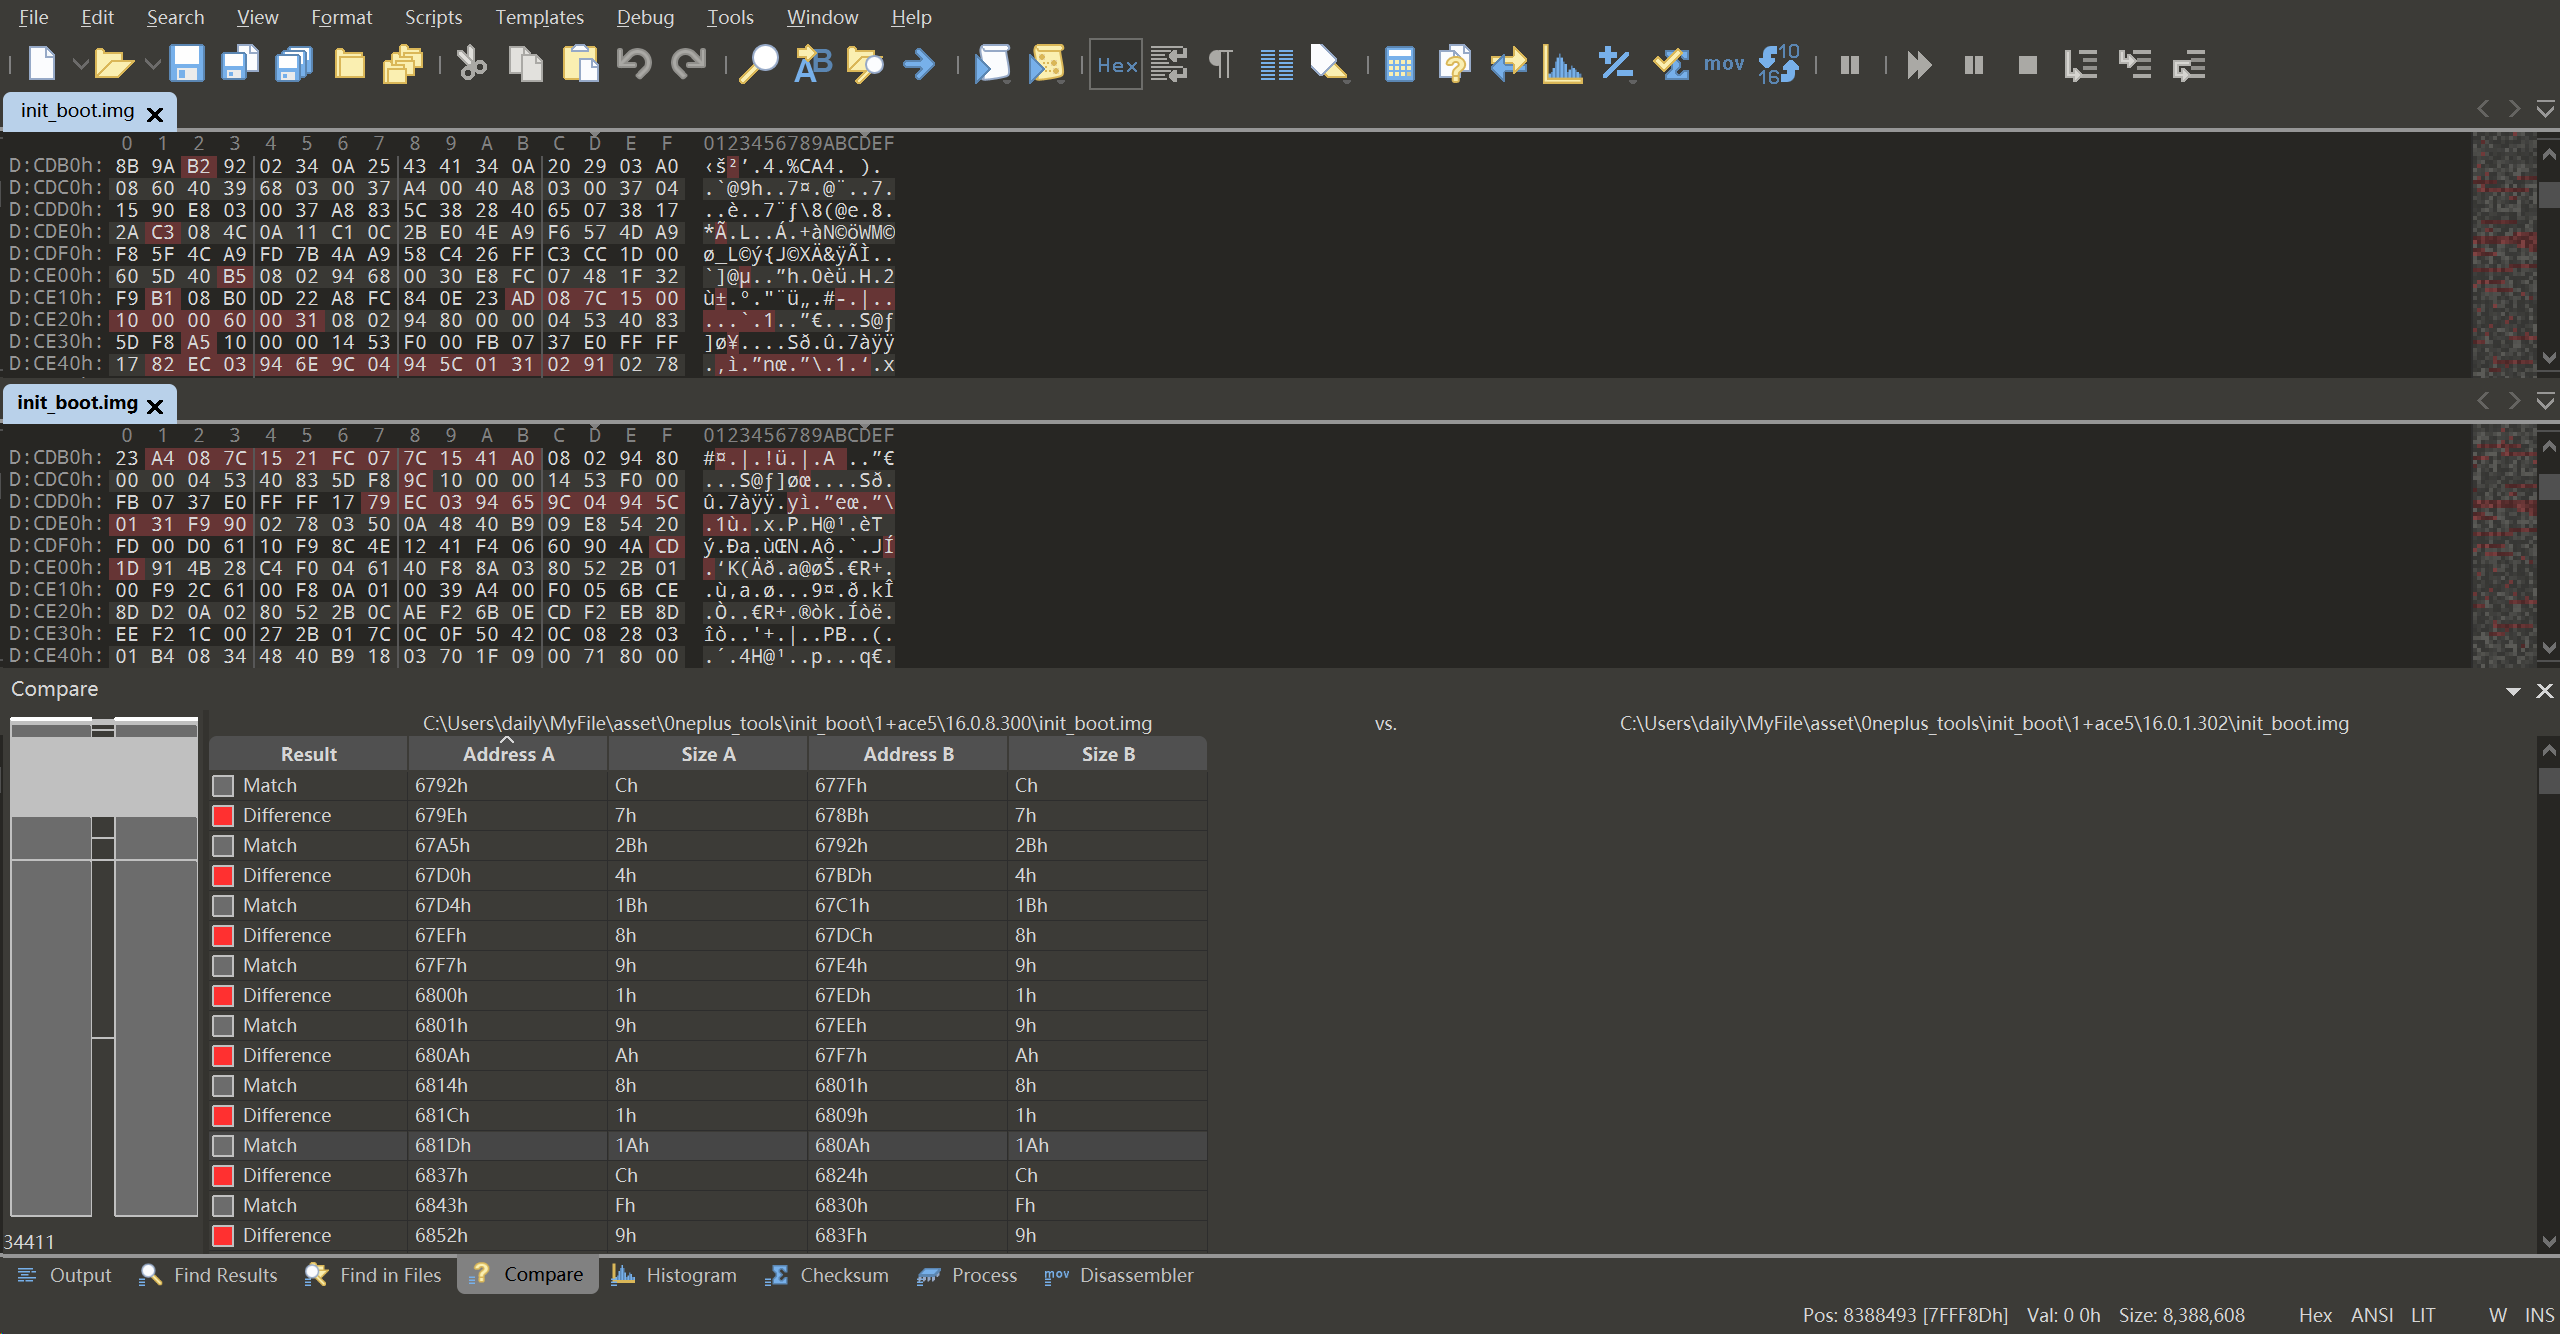
更不敢刷了?? 不存在的. 我有当前版本的init_boot就随便浪
先修补init_boot
推送提取的init_boot到手机, 让magisk修补
1
adb push init_boot.img /sdcard/download/
修补后, pull到电脑
1
adb pull /sdcard/download/Magisk_patched.img magi_init_boot.img
到此, 一切准备就绪.. 进入fastboot
1
adb reboot bootloader
刷入修补的init_boot
1
fastboot flash init_boot magi_init_boot.img
重启
1
fastboot reboot
成功进入系统..
全量包与侧载提取包对比
选中的为全量包提取的init_boot, 另外的则是侧载系统提取的init_boot

继续对比
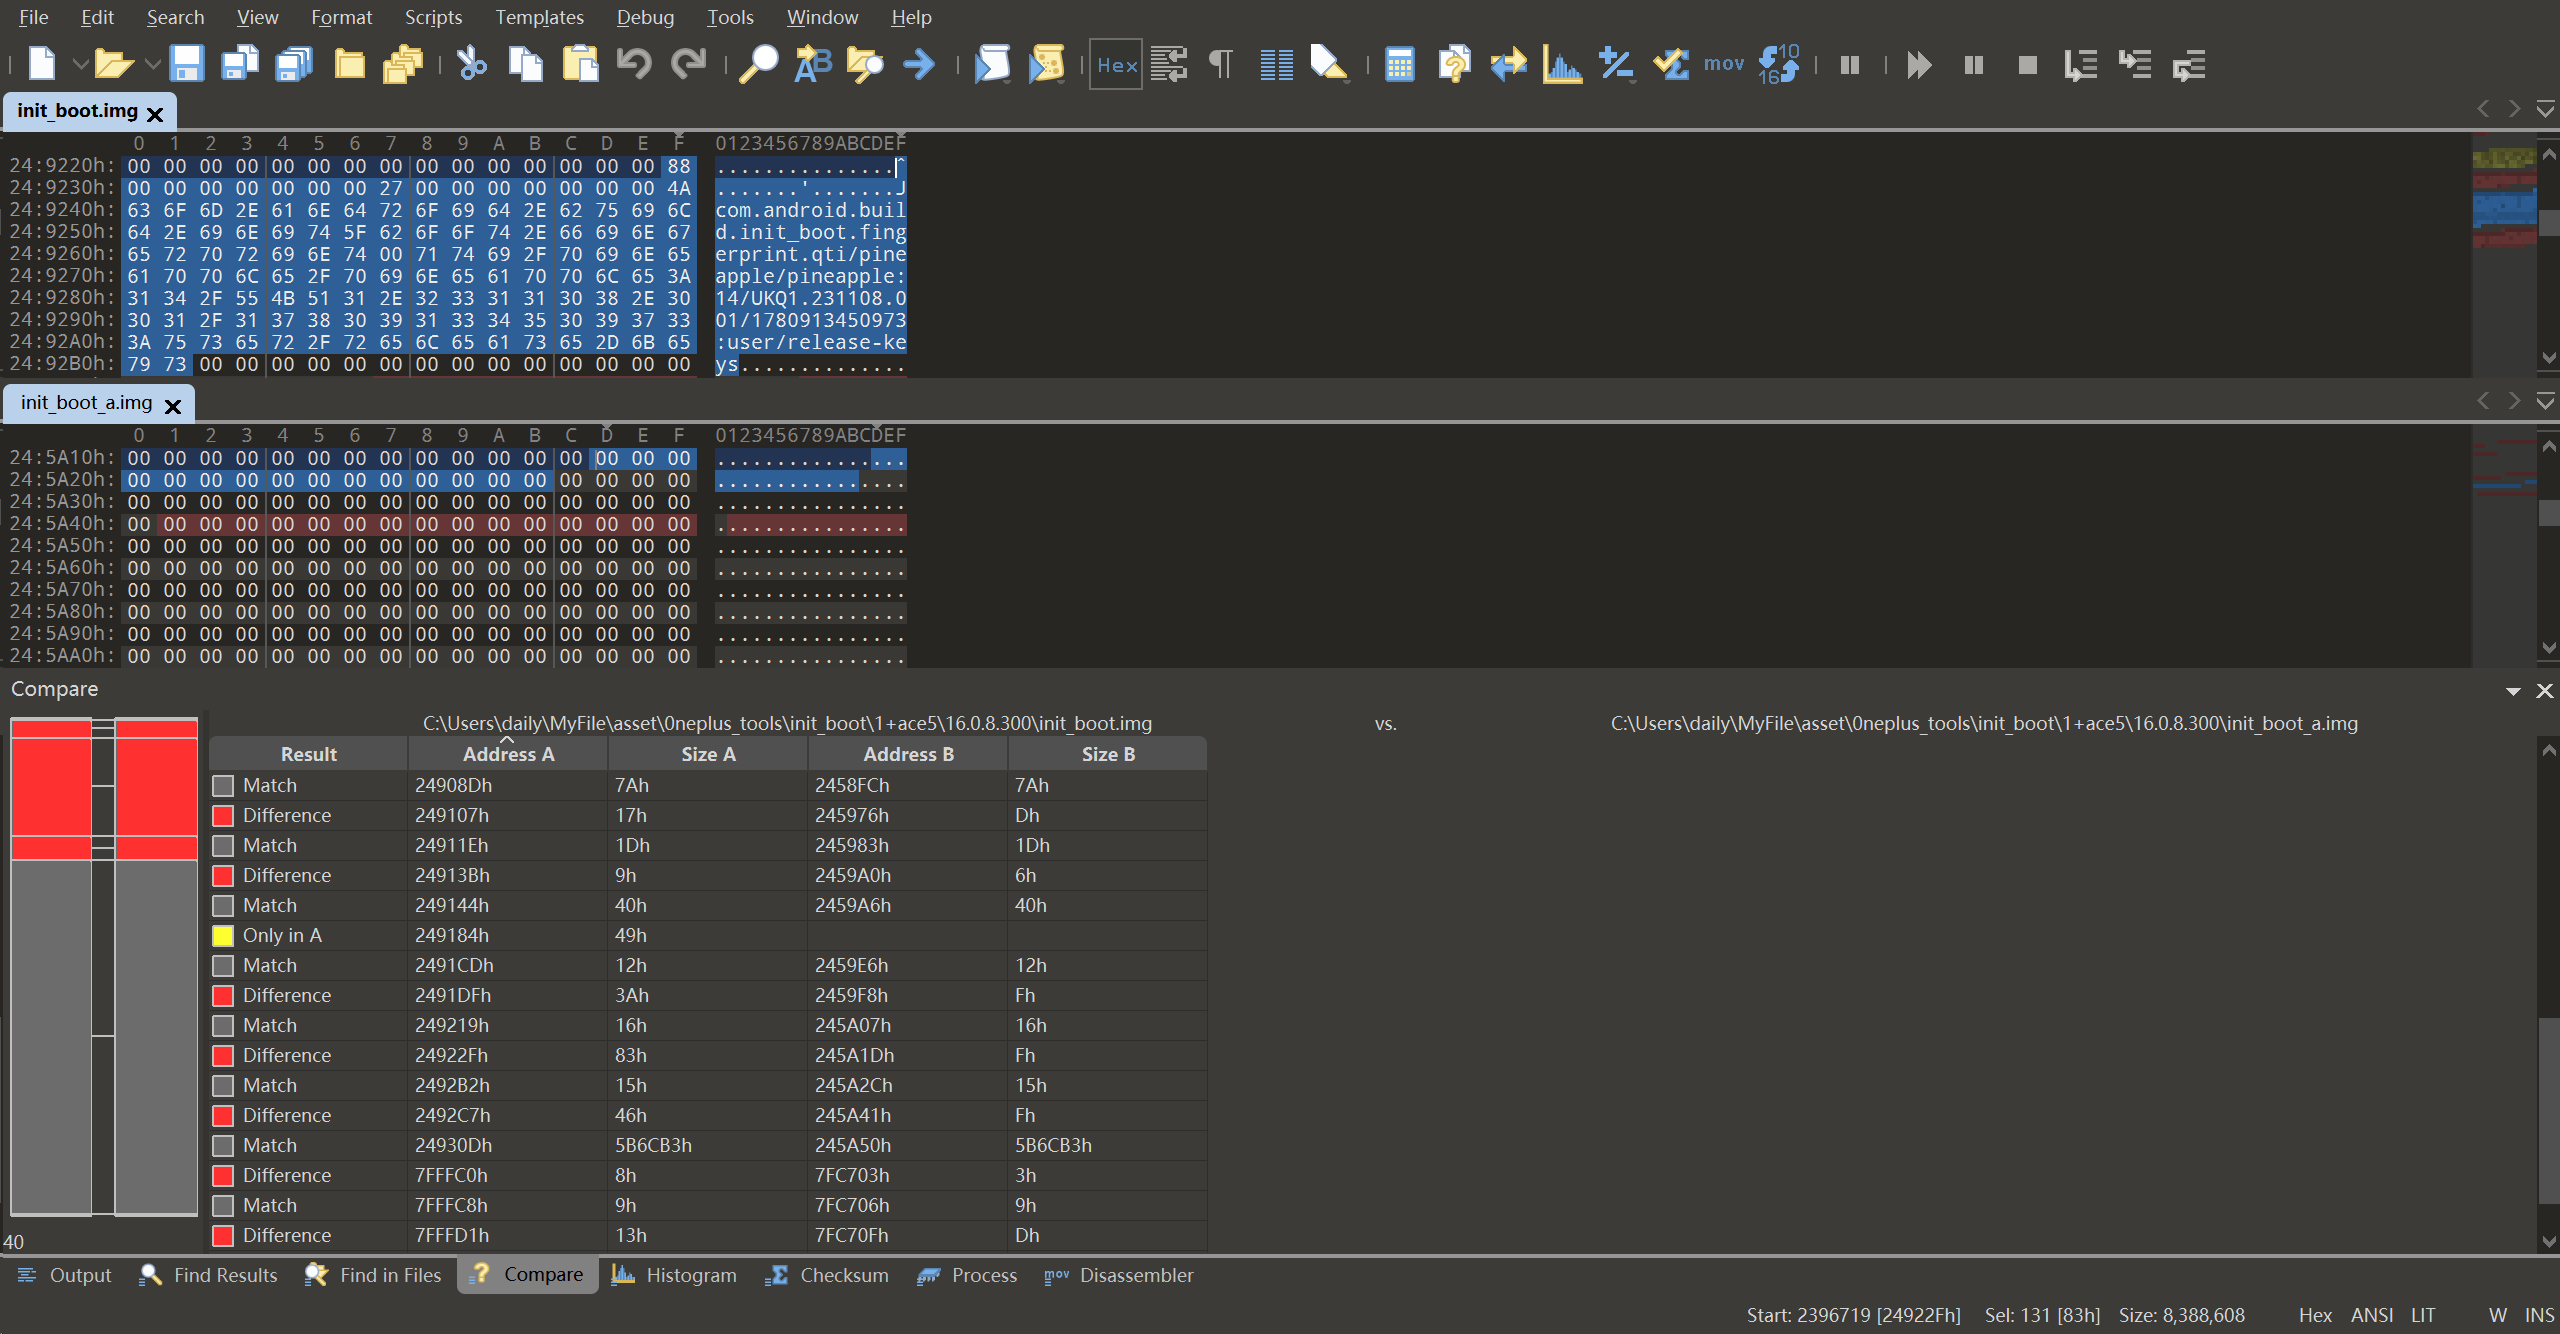
还是有一堆不一样..服了..
对比a,b分区, 也不一样… 服了服了
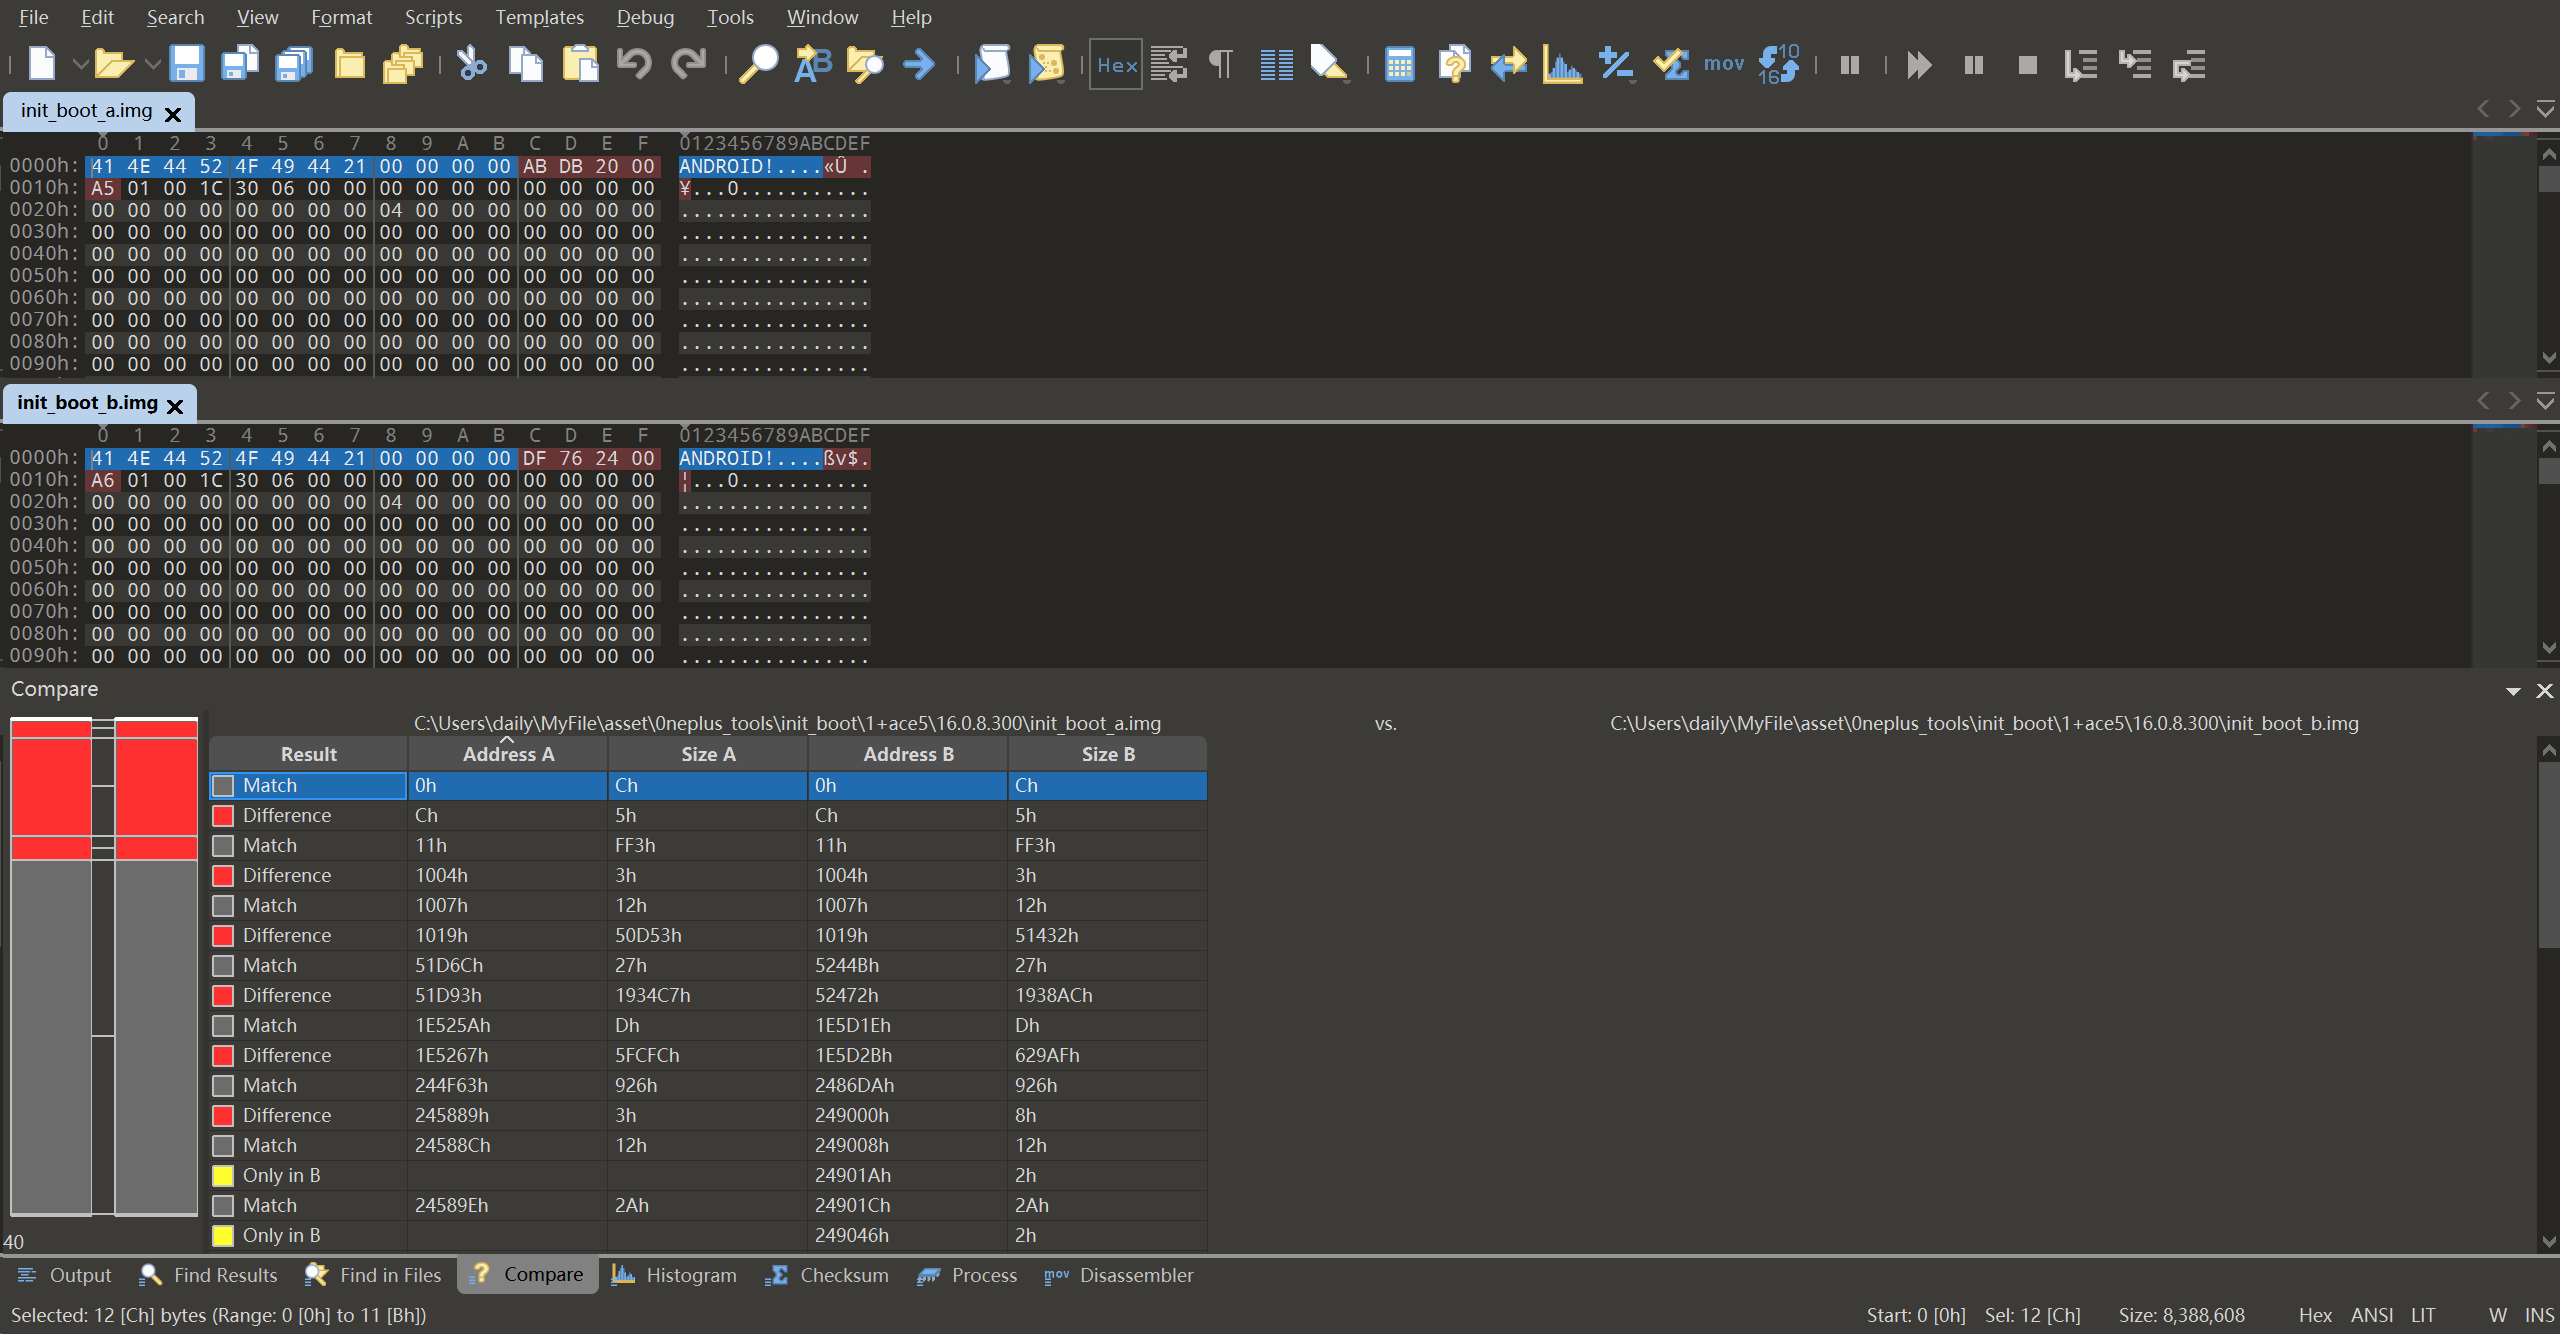
乱刷测试
先进入bootloader(也是奇怪, adb reboot fastboot 进入的是fastbootd模式, 只能选择重启或清空用户数据)
1
adb reboot bootloader
a分区
1
2
3
4
5
6
7
8
9
C:\Users\daily\MyFile\asset\0neplus_tools\init_boot\1+ace5\16.0.8.300>fastboot flash init_boot magi_init_boot_a.img
Sending 'init_boot' (8192 KB)                      OKAY [  0.257s]
Writing 'init_boot'                                OKAY [  0.006s]
Finished. Total time: 0.399s

C:\Users\daily\MyFile\asset\0neplus_tools\init_boot\1+ace5\16.0.8.300>fastboot reboot
Rebooting                                          OKAY [  0.001s]
Finished. Total time: 0.003s
成功进入系统, 有root.
b分区
1
2
3
4
5
6
7
8
C:\Users\daily\MyFile\asset\0neplus_tools\init_boot\1+ace5\16.0.8.300>fastboot flash init_boot magi_init_boot_b.img
Sending 'init_boot' (8192 KB)                      OKAY [  0.252s]
Writing 'init_boot'                                OKAY [  0.006s]
Finished. Total time: 0.392s

C:\Users\daily\MyFile\asset\0neplus_tools\init_boot\1+ace5\16.0.8.300>fastboot reboot
Rebooting                                          OKAY [  0.001s]
Finished. Total time: 0.002s
成功进入系统, 有root.
老系统init_boot
1
2
3
4
5
6
7
8
C:\Users\daily\MyFile\asset\0neplus_tools\init_boot\1+ace5\16.0.8.300>fastboot flash init_boot ../16.0.1.302/magi_patched.img
Sending 'init_boot' (8192 KB)                      OKAY [  0.268s]
Writing 'init_boot'                                OKAY [  0.006s]
Finished. Total time: 0.410s

C:\Users\daily\MyFile\asset\0neplus_tools\init_boot\1+ace5\16.0.8.300>fastboot reboot
Rebooting                                          OKAY [  0.001s]
Finished. Total time: 0.002s
成功进入系统, 有root.
尝试切换root管理器ksu-next
https://github.com/KernelSU-Next/KernelSU-Next
1
adb install KernelSU_Next_v3.3.0_33214-release.apk
1
2
3
4
5
6
7
8
9
10
C:\Users\daily\MyFile\asset\0neplus_tools\init_boot\1+ace5\16.0.8.300>adb reboot bootloader

C:\Users\daily\MyFile\asset\0neplus_tools\init_boot\1+ace5\16.0.8.300>fastboot flash init_boot ksun_init_boot.img
Sending 'init_boot' (8192 KB)                      OKAY [  0.286s]
Writing 'init_boot'                                OKAY [  0.009s]
Finished. Total time: 0.427s

C:\Users\daily\MyFile\asset\0neplus_tools\init_boot\1+ace5\16.0.8.300>fastboot reboot
Rebooting                                          OKAY [  0.001s]
Finished. Total time: 0.003s
成功进入系统..
发现模块
https://github.com/jtnqr/ssh-ksu/releases/tag/v1.0.0
替代 SSH_magisk,因为它只能在magisk工作.. 这个新模块才发布2月…
Prerequisites
To ensure proper integration and system behavior, this module requires the MetaModule framework to function properly:
- MetaModule Requirement: The custom namespace mounting operations and system OverlayFS / tmpfs modifications are handled and isolated via MetaModule mounting routines.
- Loading Constraint: The module must be loaded through MetaModule to ensure that virtualized files (such as
/etc/passwdand/etc/resolv.conf) are mounted and visible to the target system correctly.
得先安装元模块, 实现模块路径挂载
https://modules.kernelsu.org/
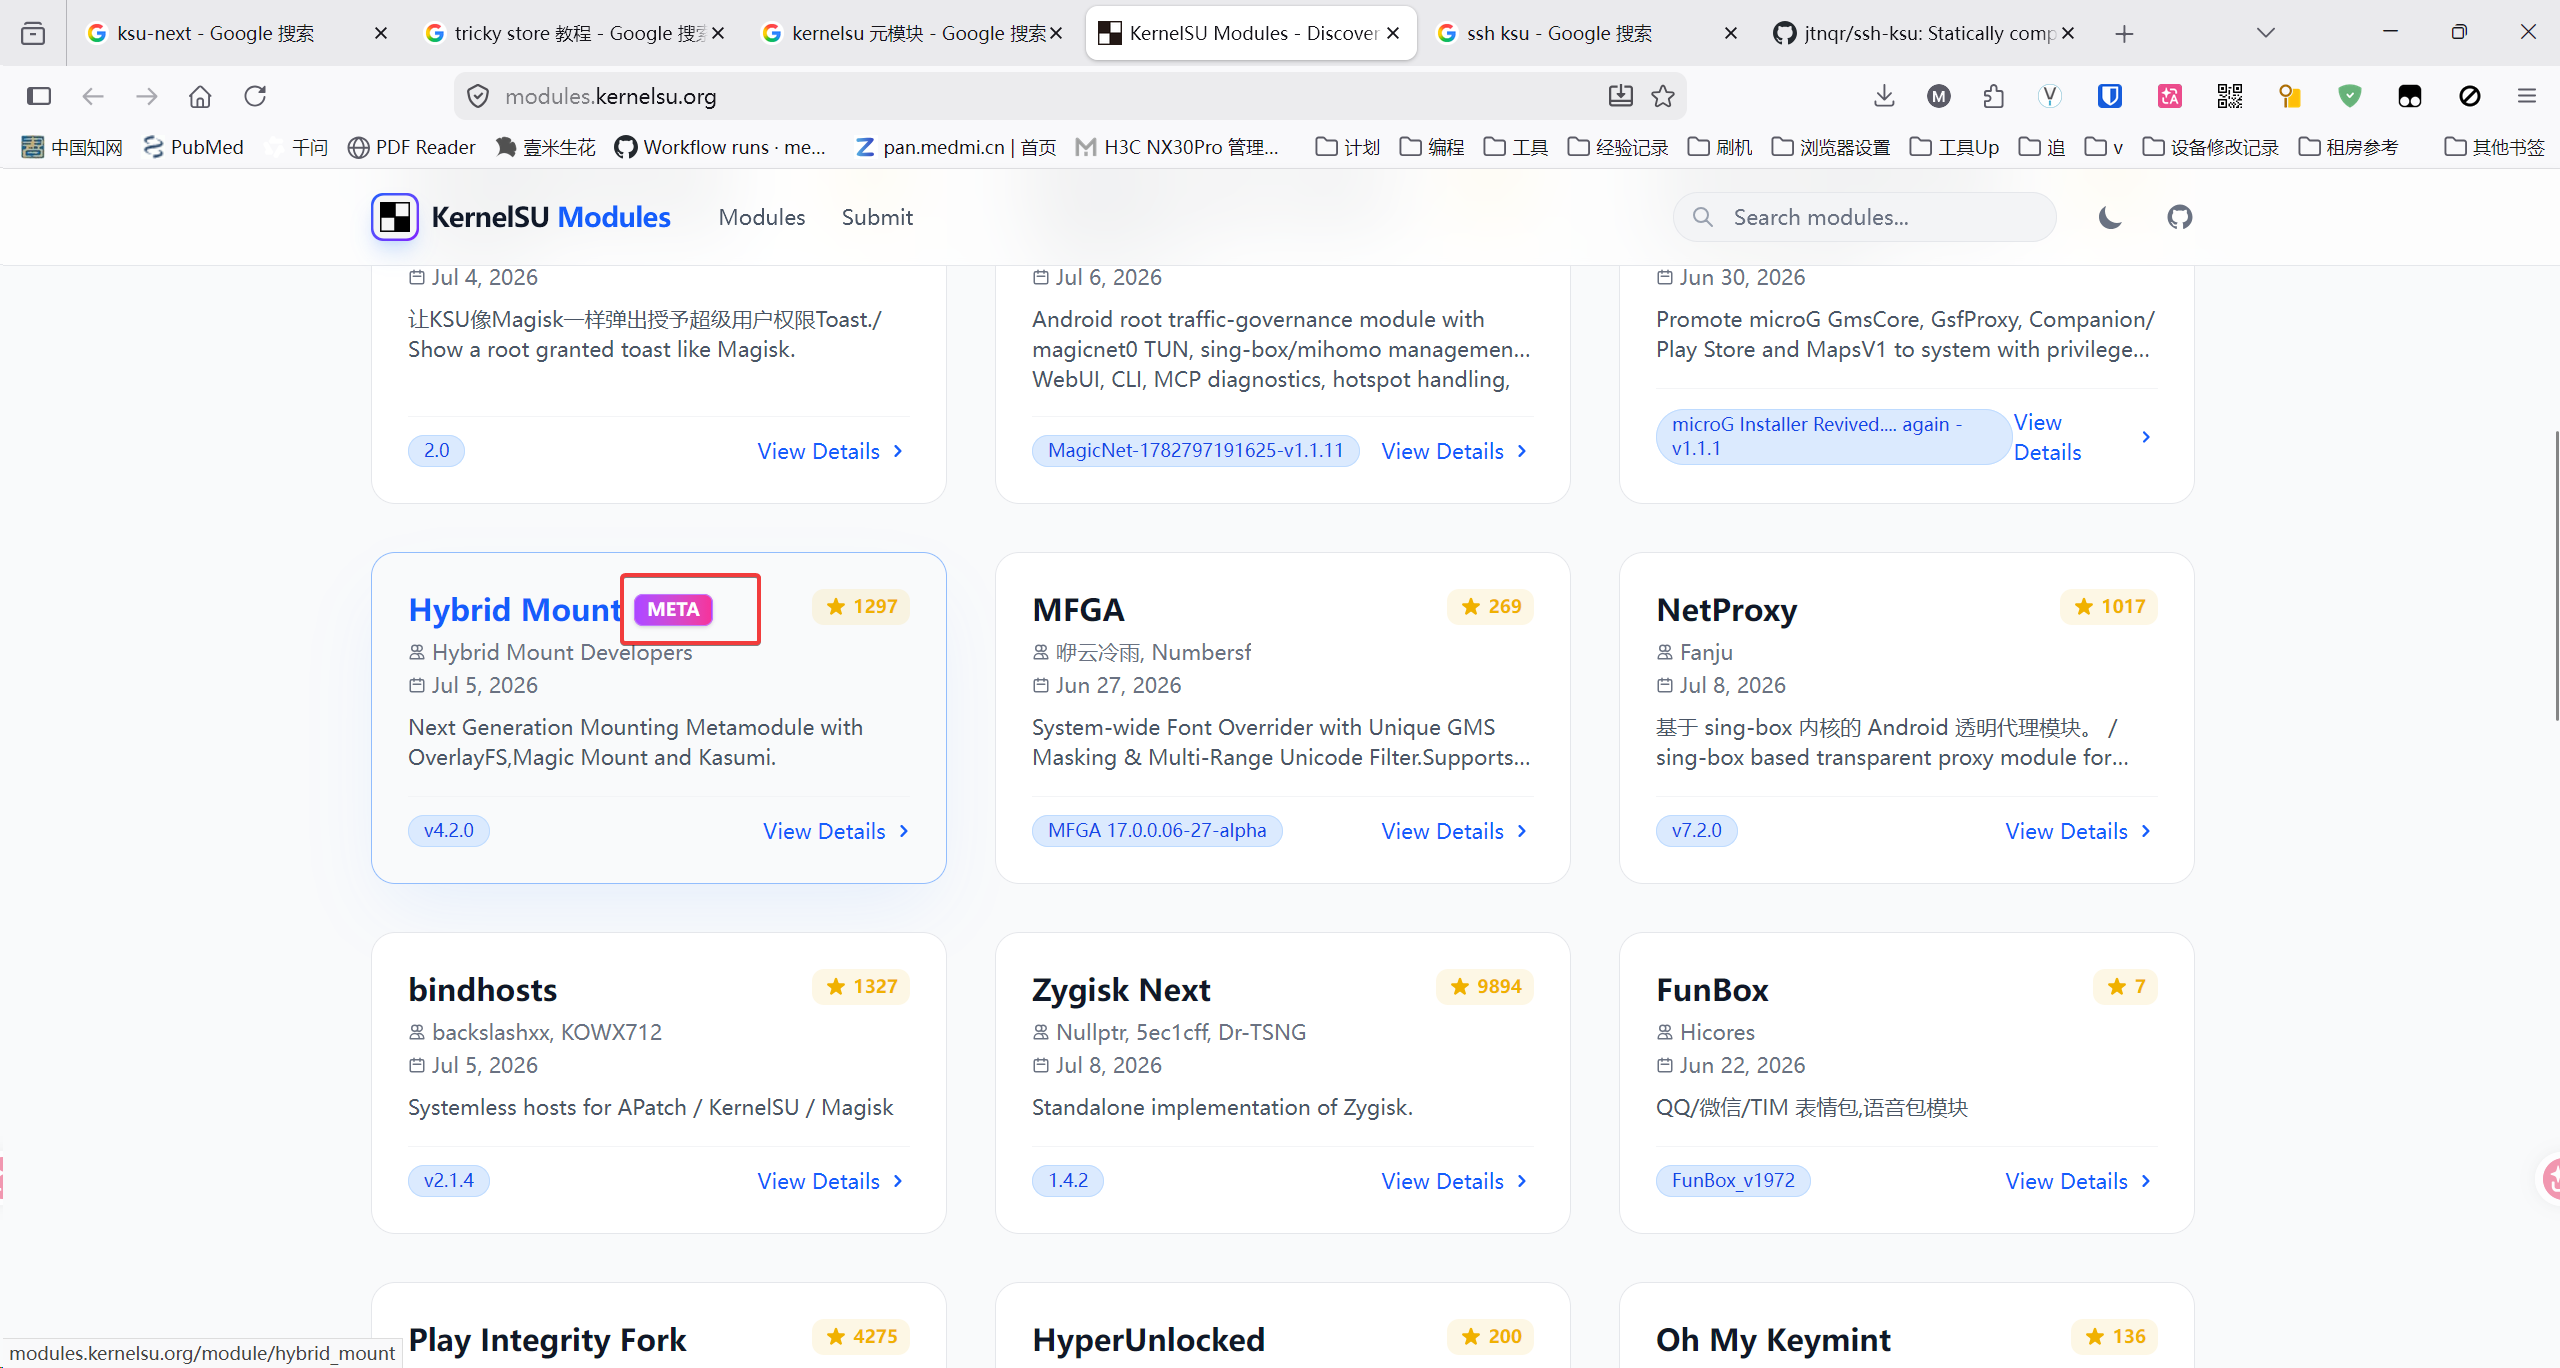
应该就是这种吧
但是没啥用… ssh-ksu依旧不能用, 但是!! magisk-ssh又能用了.. 那很好了.
总结
下次升级系统要是忘记修补另一个槽位, 可以
- 旧init_boot
- 侧载
- 全量
终于不用担心一夜起来手机变板砖了呜呜呜u
展望
https://github.com/bmax121/KernelPatch/blob/main/doc/zh-CN/module.md
发现内核级模块编写教程.. 如果想要隐藏修改系统函数, 就可以用这个模块..